How to Join (Register)
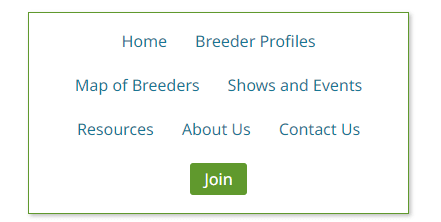
To become a member of the PGBD website you will need to join as a new member. To do this locate the Join button on the top right of the website and select it. Or in the menu popup on small devices.

The join page will then be displayed
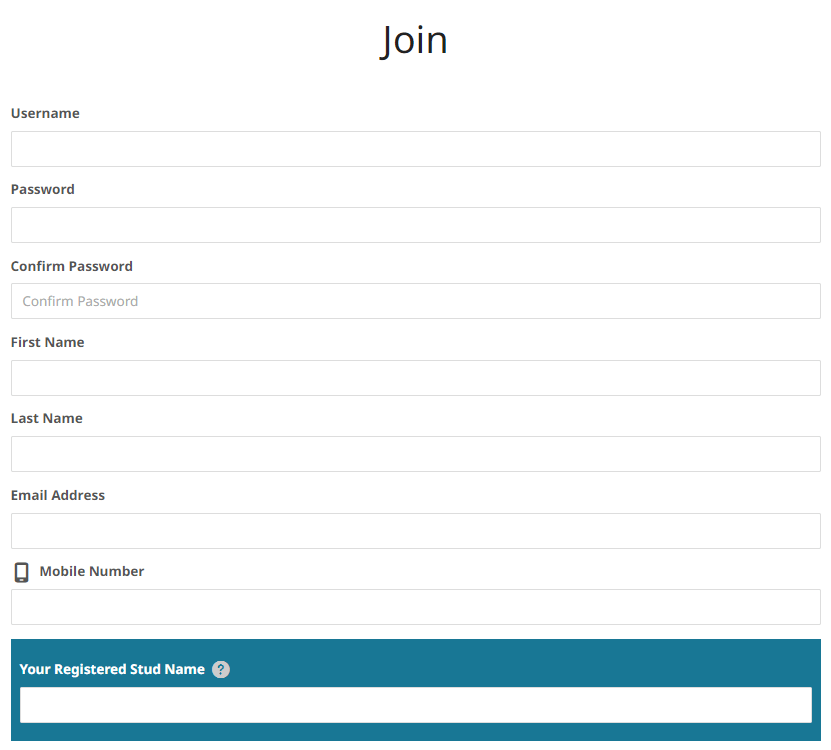
Simply fill in all of the fields on this page.
Username: Must be unique, a single word and only contain alpha and/or numeric characters, e.g. chook1. The username can be anything memorable, e.g. your name, stud name or anything else you want.
Password: Must be at least 7 characters long and contain at least 1 capital letter and 1 number. Do not use your name or stud name.
Confirm Password: Retype in your password to make sure it is correct so you can remember it.
First and Last Name: obviously your name.
Mobile Number: Your contact number
Your Registered Stud Name: Commonly referred to as your prefix used to register your goats, e.g. Eagleburra Goat Name. Enter your registered stud name only. For example Eagleburra, not Eagleburra Pygmy Goat Stud.
Stud Information: Describe and tell us about your stud. You may also use add some basic design elements to your description using the toolbar.
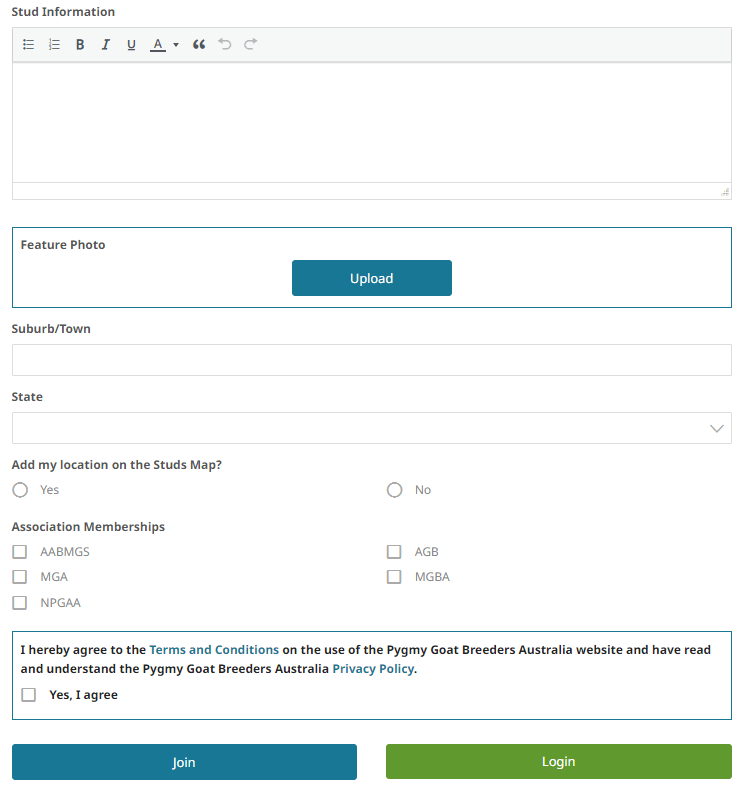
Feature Photo: Upload a photo, or a logo, whatever you like. This is what people will see first when viewing your profile. The file size should not be over 2mbs, the ideal size is less than 1mb. The actual display size is 710px wide and up to 710px in height.
To upload select the Upload button and a small popup box will appear.
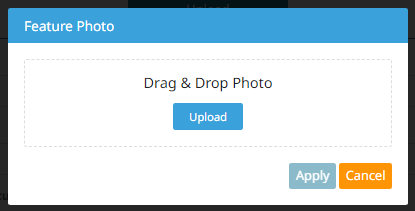
You can either click on the Upload button or drag an image on top of this box to upload. How this is done will depend on the device you are using to join, e.g. windows desktop, Apple Desktop or a mobile device.
Once your photo has been selected it will upload and then be displayed, you now click on Apply to set it as your Feature Photo. You can change this at anytime later.
Your Join page will now show the image you uploaded.
Suburb/Town: Enter your suburb or town where your stud is located.
State: Select the state where your stud is located.
Add my location on the Studs Map?: If you want to have your stud included on the Pygmy Goat Breeders map, select Yes.
Association Memberships: Select the associations you are a member of.
Association numbers: Depending on what Association Memberships you have selected, enter your membership number for each association. This is only to confirm membership and is not displayed on your profile.
Agreeing to the Terms and Conditions.

You must agree to the PGBD Terms and Conditions of use and understand the PGBA privacy policy. To be listed on the PGBA website you must agree to it.
When you are done adding your details to join, select the Join button.
All requests to join are checked and then approved, this is to ensure there are no spam or other undesired content.
Please allow up to 48 hours for your information to be approved. You will get an email once it is approved.
When you are approved, you will be a member of the Pygmy Goat Breeders Australia website.
After Approval.
How to edit and use your profile.
After your account is approved you may now go and visit your profile and add more information, including photos, website, Facebook and more.
Here is a quick video showing how to fill the Join form in.
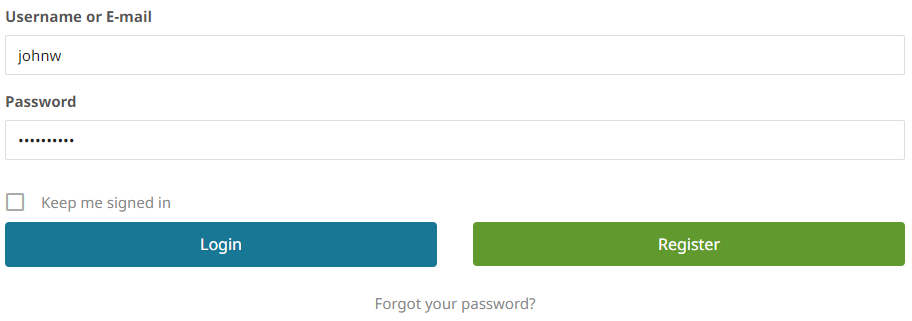
To access your profile, simply login to the PGBD website.

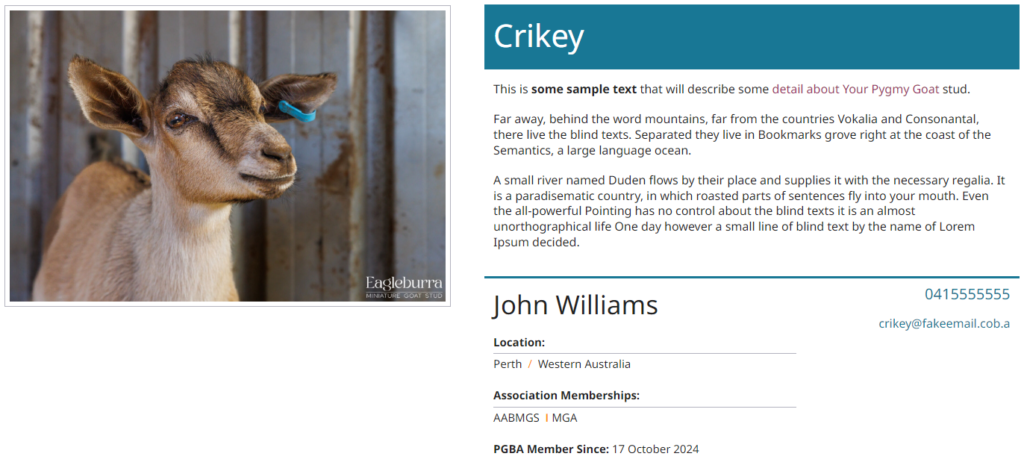
You will now be looking at your profile. If not use the profile menu link on the top menu.

To edit and add more information, use the top right green Edit button
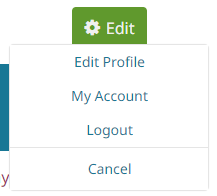
And select Edit Profile
Profile Editing
Additional Fields
Photo Gallery: Here you can add up to 16 photos, more details below this how to edit the profile
Website URL: If you have a website add its website address here. E.g. https://crikey.com.au
Facebook: Add your facebook URL, e.g. https://www.facebook.com/crikey
X: Add your X (Twitter) URL, e.g. https://x.com/crikey
Instagram: Add your Instagram URL, e.g. https://www.instagram.com/crikey
TikToK: Add your Tiktok URL, e.g. https://www.tiktok.com/@crikey
Youtube: Add your YouTube URL, e.g. https://www.youtube.com/@crikey
What is the Pygmy Goat % range of your breeding stock?: Add your from and to percentages.
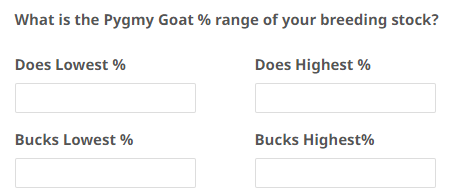
Enter the values in the fields provided. These are for your Breeding stock, i.e. not wethers.
DNA: Add your DNA details

CAE and Johne’s Disease Whole Herd Health Testing: Add details of your current or past testing and the year last tested.
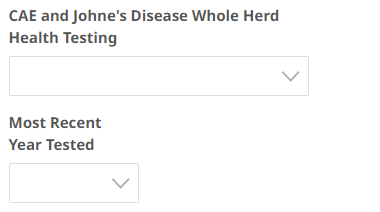
Now select Update Profile

Adding Photos and Editing the Photo Gallery
To add and edit photos on your profile, go back in and edit your profile as described on the previous section.
Go to Photo Gallery and select the Add/Edit Photos red button

When you first add photos, you will be shown three buttons.

To add photos select + Add a new Album
The Add a new Album popup will be shown

Enter a name of your album. This could simply be your stud prefix, but can be anything you desire. Note the add photo system will allow you to add more albums, however the profile will only show the photos in the album(s) not the albums themselves.
Type in your album name.
To add your photos now, click on + Select Photos and choose the photos you want to be add (up to 16 photos).
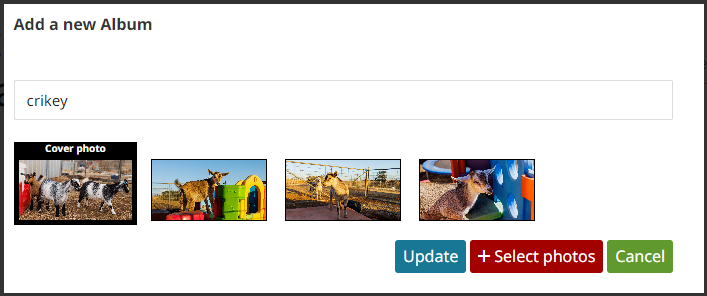
By default the first photo will be your album cover photo, you can click on any other image to be the cover photo. Again please note that the cover photo is not shown on your profile. It is only used for you to distinguish albums if you choose to use more than one album.
Now that your photos have been selected, click on the Update button.
Your photos will now upload, the time to do this will depend on the device and your internet speed connection. Just give it some time. The more photos you upload at the same time, the longer it will take. If you have any issues or timeout problems, retry and only add 3 or 4 photos at a time.
Once done the Album with photo will be displayed to you.
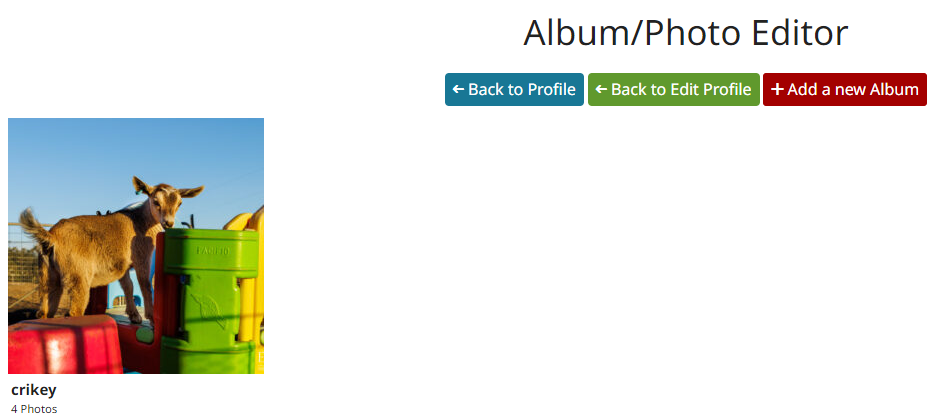
To view your photos on your profile select the Back to Profile button
Your photos will now be displayed under the Feature Photo
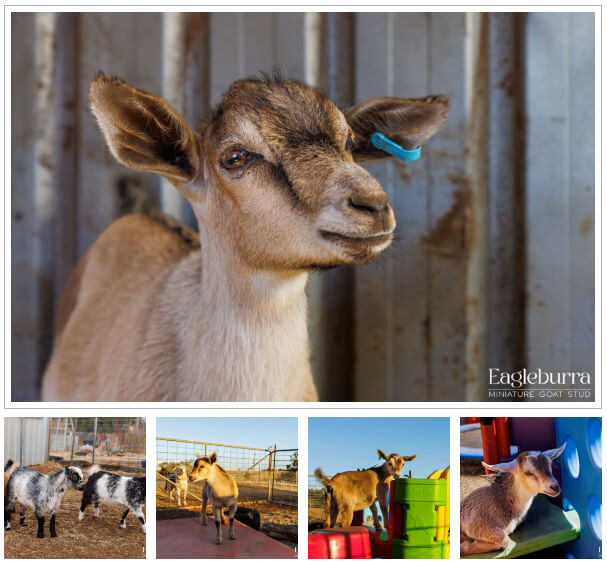
Clicking on any of these photos will open a pop up showing a much larger photo.
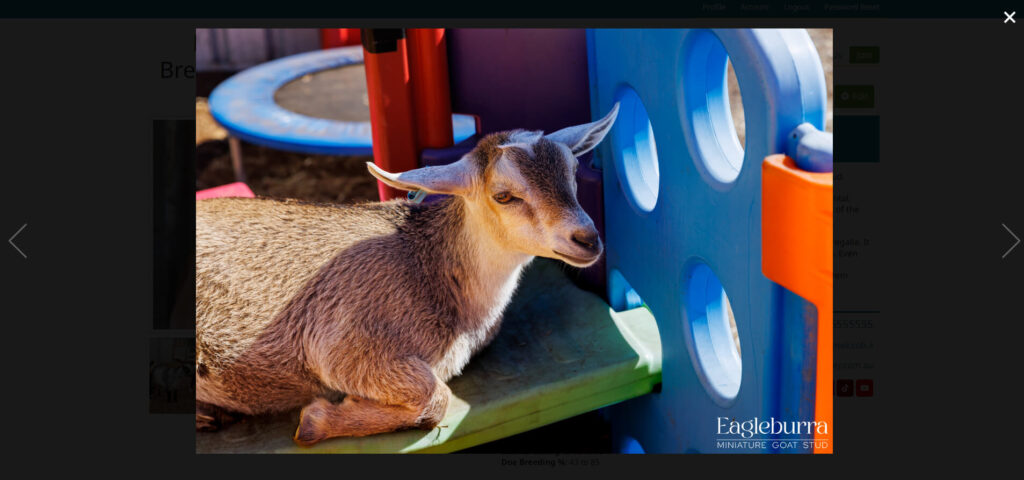
You can view the other photos using the left and right arrows and close it with the big X on the top right.
That’s it, you now know how to create and edit your profile and photos.
If you have any questions on the above or need more assistance, please contact us.
